As your mining operation evolves, there may come a time when you’d like to move a Pickaxe from one client down to a more localized client level. The most common example is moving a Pickaxe from a top-level account down to a newly created Site Client.
Important: How Pickaxe Moves Work
Before getting started, it’s important to understand how Pickaxes are moved between clients:
Pickaxes cannot be reused across clients. Each Pickaxe is tied to a specific Client ID.
Attempting to reuse an existing Pickaxe ID with a different Client ID will fail, as the dashboard will reject the mismatch.
The correct process is to install a brand-new Pickaxe at the desired client level.
No miner data is stored on the Pickaxe itself, so you can safely replace Pickaxes without impacting historical data.
After creating the new Pickaxe, you’ll move miners from the old Pickaxe to the new one, copy over any relevant settings, and then delete the old Pickaxe.
Windows Instructions
Download the Latest Foreman Windows Agent
You can just navigate to the client level where you want the new Pickaxe to appear, then download the latest release of the Foreman Windows Agent.
Configure the Pickaxe
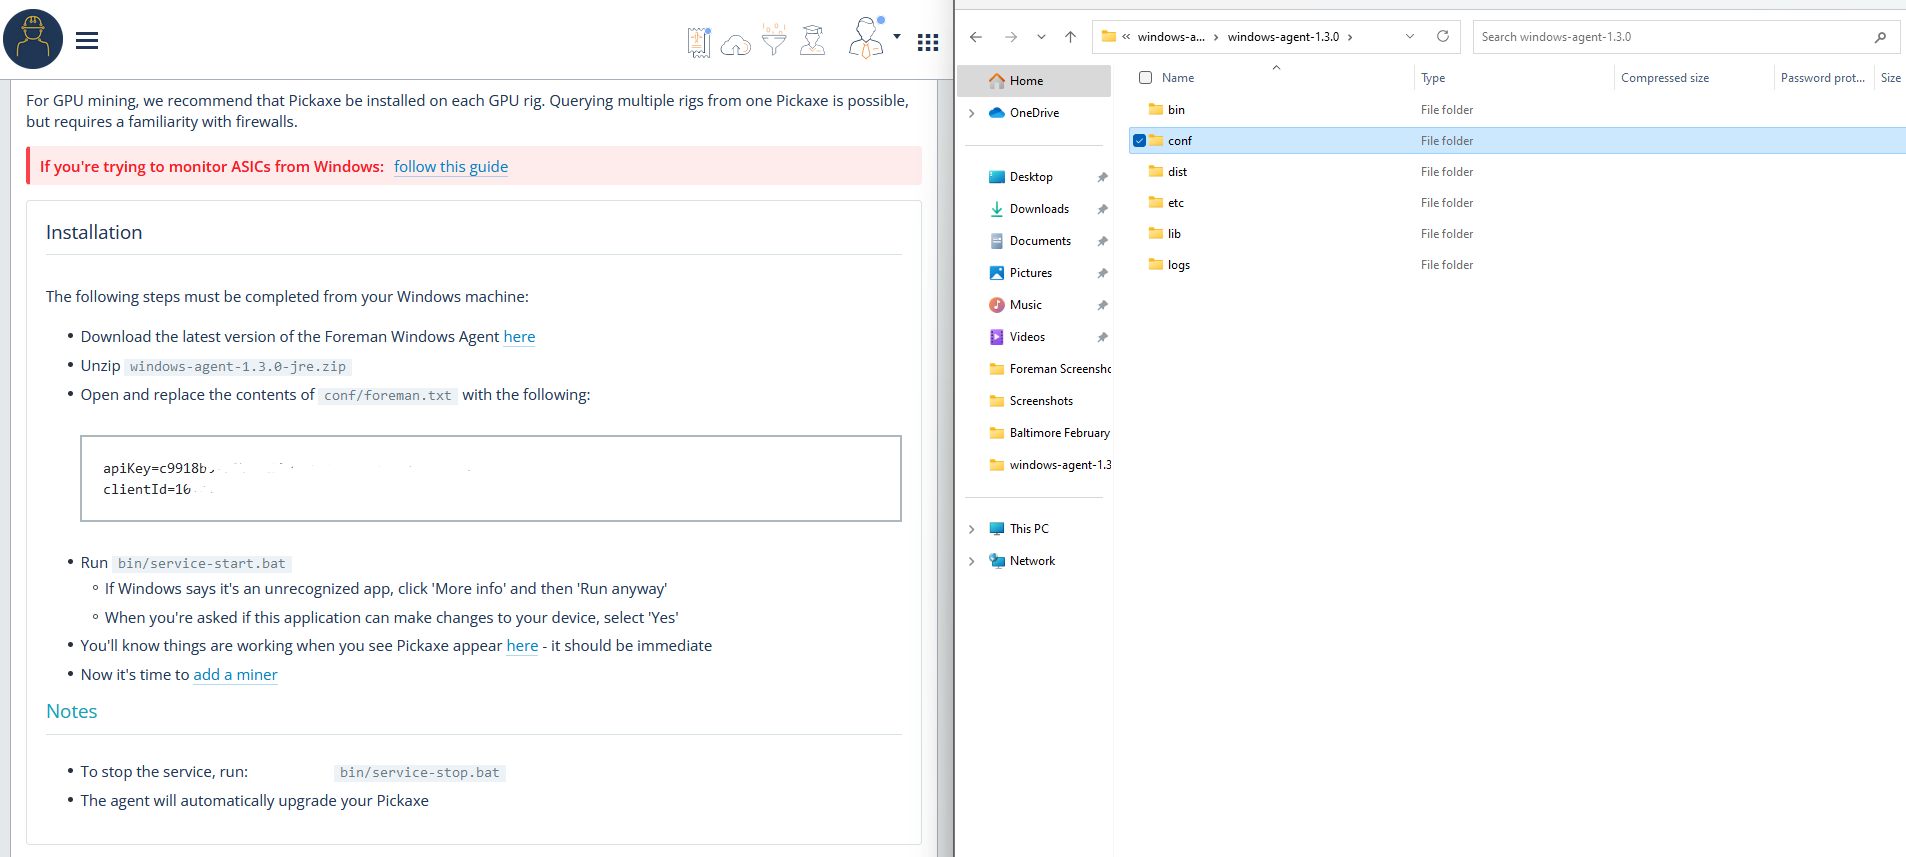
Open the file:
conf/foreman.txt
Replace the contents with your apiKey and clientID.
To prevent errors, we recommend copying and pasting both values directly from the installation page. This page updates automatically based on the client you’re currently viewing, so double-check that you’re in the correct client before proceeding.
Start the Pickaxe Service
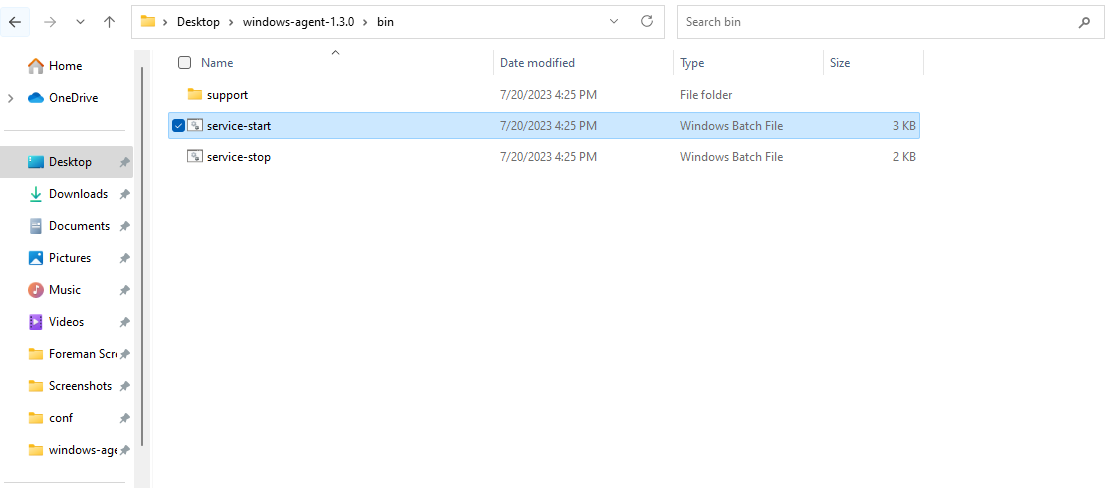
After saving the file, run the following command from the bin folder:
service-start
If everything is configured correctly, the new Pickaxe will appear in the Pickaxe tab of the desired client.
Linux Instructions
The process for Linux is very similar to Windows and does not require uninstalling or manually removing the previous Pickaxe.
Install a New Pickaxe for the Desired Client
Navigate to the client level where you want the new Pickaxe to live.
Create a new Pickaxe using the desired Client ID.
Copy the Linux installation command provided in the dashboard.
Run the installation command on the Linux machine.
That’s it—no additional cleanup is required.
The Linux install script automatically:
Cleans up any existing Pickaxe configuration
Creates a new systemd service
Starts fresh with the new Client ID
You do not need to uninstall or stop the previous Pickaxe manually. Running the install command again is the correct and supported approach.
Assign Miners to the New Pickaxe
From the Miners table in your top-level account:
Select the miners you want to move.
Use Bulk Edit.
Choose the new Pickaxe as the destination.
Click Save.
Don’t forget to copy any relevant Pickaxe settings from the old Pickaxe to the new one—this step is easy to miss.
Deleting an Unwanted Pickaxe
Once the new Pickaxe is online and all miners have been reassigned:
Run the
service-stopcommand for the old (now empty) Pickaxe.Navigate to the Pickaxe tab in the dashboard.
Click the gear icon in the top-right corner of the Pickaxe tile.
Select Delete.
The Delete option is only available when:
The Pickaxe has 0 miners assigned
The Pickaxe is offline
Need Help?
Have more questions? Submit a request below or reach out to the Customer Success team directly—we’re happy to help!
Comments
0 comments
Please sign in to leave a comment.